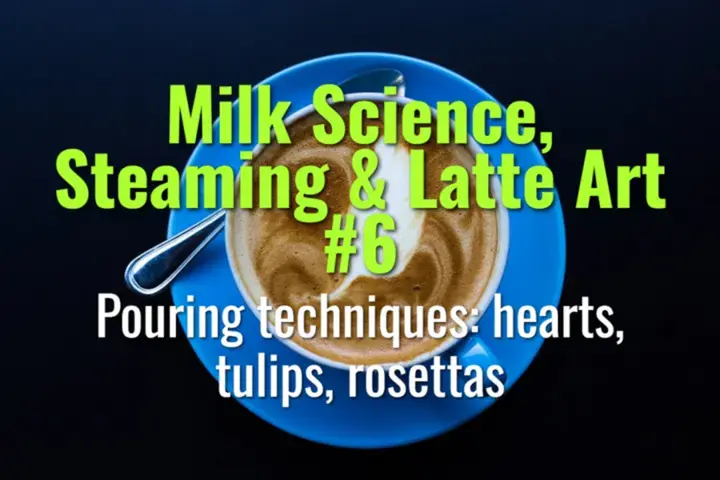
Pouring techniques: hearts, tulips, rosettas
Step-by-step techniques for creating classic latte art patterns—hearts, tulips, and rosettas—by controlling milk flow, height, and pitcher movement.
- Coffee Basics Nerds
- 2 min read
Article 6 of 12 in Milk Science, Steaming & Latte Art/
General Principles of Pouring
- Milk Quality: Microfoam must be glossy, smooth, and free of large bubbles.
- Flow Control: Start high for thin milk stream (to sink milk under crema), lower pitcher for designs.
- Cup Tilt: Tilting the cup toward the pour helps the pattern spread naturally.
- Motion: Different patterns rely on variations of stillness, wiggles, or pulls.
Heart
- Begin with cup tilted.
- Pour from height into center until cup is ~½ full.
- Lower pitcher and increase flow to form a white circle.
- Lift pitcher and pull stream through circle’s center to create a heart shape.
Tulip
- Pour base circle (like first step of heart).
- Stop flow, move slightly back, then pour another smaller circle on top.
- Repeat layering 2–4 times.
- Finish by pulling stream through all circles for stacked tulip effect.
Rosetta
- Begin with cup tilted, start pouring from height to sink base.
- Lower pitcher close to surface and wiggle side-to-side as you move backward.
- Wiggles form leaf pattern with alternating white and brown lines.
- Finish by pulling straight through the center stem.
Key Tips
- Heart: Focus on steady flow and clean pull-through.
- Tulip: Stop-start motion must be crisp to define layers.
- Rosetta: Wiggle motion should be fast but controlled; pitcher spout guides the leaf length.
Summary
Latte art relies on controlling milk flow, height, and motion. Hearts teach basic flow and pull control, tulips build layering skill, and rosettas refine hand coordination. Mastering these core designs prepares baristas for more complex free-pour patterns.